Basics
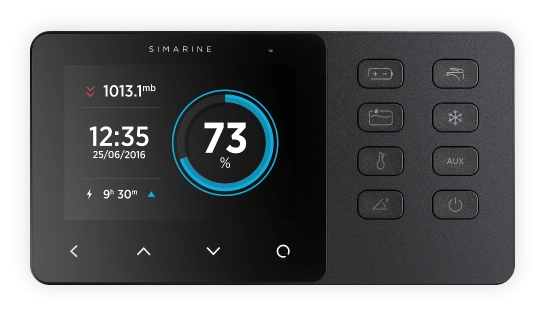
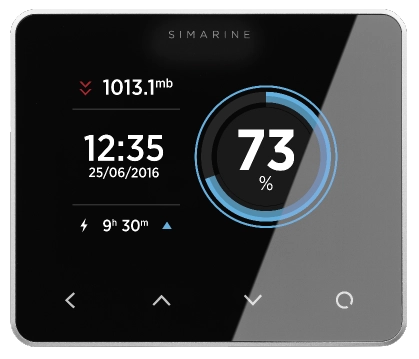
Our system is modular, which means that with a PICO monitor you’ll need extension modules. So first think about what your project requires and choose the modules you need.
You can start as small as you need and can always add additional modules later if you want to expand your system.
Before choosing your extra modules, you must know what kind of inputs each one provides and what you can connect to these inputs.
In the video below, our Nejc explains our system in detail. Check it out.
Technical questions
– For lithium battery types, you should only input C20, which is always the full capacity of the battery.
– For non-lithium battery types, C20 is again the full capacity and must be entered. C10 and C5 should only be entered if the two characteristics are specifically provided by your battery’s manufacturer. Otherwise the two characteristics should remain “Not Set”. Do not try using any online calculator and do not try to guess any of the missing characteristics.
– C20, C10, and C5 always represent a whole battery bank. This means that if you have multiple batteries wired in parallel, you have to multiply their characteristics by the number of batteries. For instance, you have 4 batteries of 60Ah, this means that C20 = 4*60Ah = 240Ah. The same applies for C10 and C5.
For Pico rev.2: in the app enable Experimental features and remote monitoring. On your Pico, navigate to MENU > WIFI > MODE and select REMOTE and connect it to a WiFi network with access to the internet. Make sure that your phone is connected to a WiFi with Internet access or that you have activated your mobile data.
Open the application and wait for the sync. After it is finished a green globe icon will appear on the top of the screen, right next to the name of the application. This icon indicates that you are accessing your Pico over the internet. More details you can find in this blog post.
For Pico rev.1 and Via: the phone app used for monitoring data via WiFi-Direct, requires your phone to be connected to the same (local) network as the monitoring device. We support only one way of online remote data monitoring, namely using the NMEA2000 Gateway to relay the data over the NMEA2000 network, after which a remote monitoring system such as SENTINEL’s comes into play.
It would be very impractical to configure an alarm relay to toggle your heater on or off depending on the temperature readout. Everything you need for that is available, but the alarm relay’s intended purpose makes it impractical as a general, automatic relay control; that’s because the alarm relay, when toggled on, is considered a true alarm by the monitoring device and the device will go in the alarm state. While in the alarm state, the device has limited monitoring capabilities until the alarm situation is resolved or manually dismissed (which would turn the alarm relay back off).
In order to have a correct battery state of charge (SOC), the system must be both wired and configured properly. As each system is a bit different in its wiring and/or configuration, it is best if you contact [email protected] and provide a wiring diagram if possible, along with a description of the problem, and we will be more than happy to help you get your system up and running. Once the problem is resolved, you should expect very precise battery monitoring.
Please navigate to MENU > DEVICES > TEMPERATURE SENSORS and select your sensor. Write down what you have selected for “DEVICE” (input to which you connected the temperature probe). Then navigate to MENU > DEVICES > OHMMETERS and see what the raw reading is for that input. If it is 65535, the problem is that you did not select the correct input.
The maximum number our device can work with is 65535, which can be translated to “infinite resistance”. Our temperature sensors are of the NTC10k type and if you map 65535 ohms (infinite resistance, a.k.a nothing connected), you map the value to -13 °C or 8.6 °F.
To resolve this issue, you have to select the actual input to which you connected your sensor. It’s very easy to locate it: again navigate to MENU > DEVICES > OHMMETERS and see what the readings are. Touch the temperature probe and one of the readings will start to change its value (as the temperature of the probe will change).
Alternatively, you can also unplug the temperature sensor and see which sensor changed its readings to 65535. Then navigate to your temperature settings and select the appropriate input for “DEVICE”.
No, you can not.
No, the shortest SiCOM cable is 5m. For distances shorter than 5 meters, a regular telephone cable will work nicely.
No, but the 8m cable comes with an extension adapter, which enables you to attach it to the existing 5 m cable that came with your module. This gives you 13 meters of communication cable.
Yes, all of the PICO monitors are fully expendable. PICO One as well.

Returns & Refunds
Here you’ll find answers to the most frequently asked questions about delivery, returns, and refunds.
We support:

Delivery time in days

Delivery partners

Returns
If you would like to return your product for any reason, here is how. But before shipping it back to us, bear in mind that you:
- can return only products bought directly from our webshop,
- have 30 calendar days from the date you received it to return an item,
- have 14 days to return an item after notifying us about said return,
- may not have damaged the product,
- must repack the product in its original packaging,
- do not have to name the reason for the return,
- must cover the delivery costs for the return.
Before returning a product, you have to notify us via [email protected] or by filling out the contact form at the bottom of this page.
Write the following:
- Product name
- Order date
- Date of receipt
- Your full name and address
- Optionally, the reason for the return
- In the case of a warranty claim, the description of the problem.
Only after you have been assigned an RMA number, you can send us the package, which should contain a note with the RMA number you received. If you are from outside of the EU, the process of returning the product is different. Please write to [email protected].
Make sure the shipment is trackable as we take no responsibility for package loss.
After receiving your package, we’ll refund your payment, including delivery costs, within 14 days from the date we were notified about your return. Refunds will be sent to the card-issuing bank unless you specify other means.
If the return fails to reach us within 14 days, please send us proof that the products were sent. Otherwise, the refund will be withheld until we receive the goods.
All our products have a three-year warranty starting from the date of purchase.
If your product fails to work as it should, we’ll repair it free of charge or replace the product. Exceptions are:
- if the defect arises because you has altered a product without written consent,
- if the malfunction occurs because of a failure to heed our instructions for the product’s storage, usage, installation, use, or maintenance,
- if you don’t notify the company of any defect in accordance with general Terms & Conditions.
Downloads
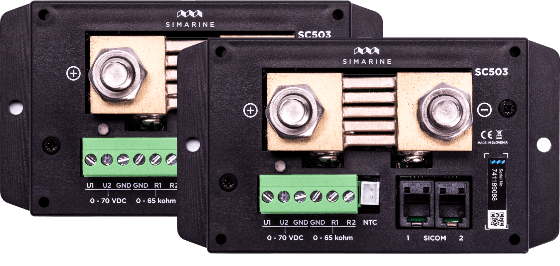
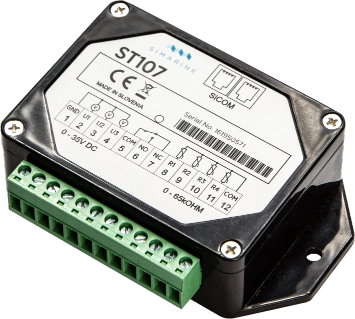
Here you can download manuals and wiring diagrams for all our products. If you have a specific question about wiring, send us an email or schedule a call with us.
SC303/SC503
ST107
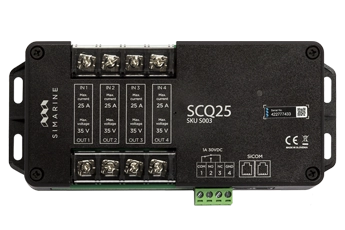
SCQ25
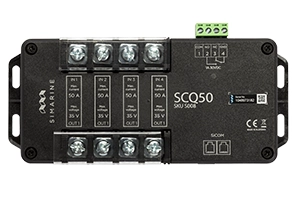
SCQ50
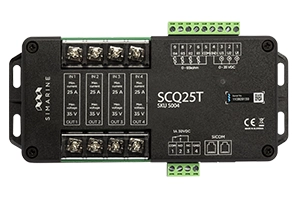
SCQ25T
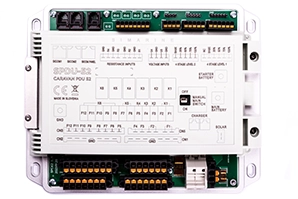
SPDU-52
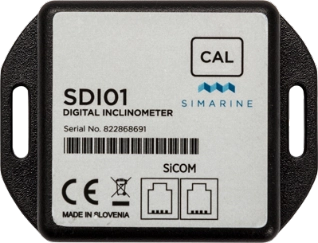
Inclinometer
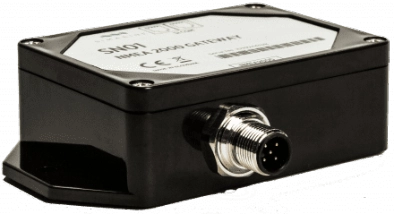
NMEA 2000
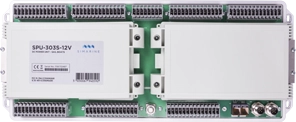
SPU-303
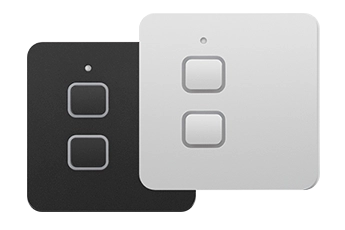
Light switches
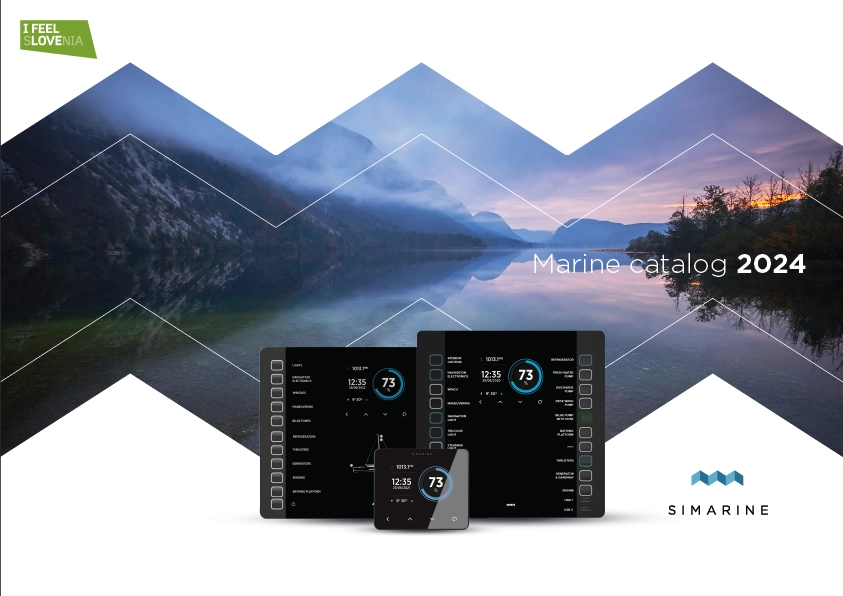
Catalog 2024
Couldn’t find what you’re looking for?
While we are good with making everything as an adventure, we have to apologize at this point.
We are pretty old-fashioned with the ways you can contact us.

